Managing Tasks
Improvement projects may include one or more tasks (or actions) that you must complete.
On the Task details tab, you can do the following actions:
View the task's resources.
Add new tasks and subtasks to the project.
View mandatory and non-mandatory tasks.
tipProjects may include tasks that are mandatory or non-mandatory.To identify tasks that are mandatory, look for the Mandatory label on the task tile.Share mandatory and non-mandatory tasks. See Sharing Projects and Tasks to learn more.
Update or delete non-mandatory tasks.
For more information on viewing projects, see any one of the following sections:
Viewing Learning Resources
To gain better clarity about the task, you can refer to the learning resources provided for the task.
On the Project details page, go to the Task details tab.
To view the learning resources page, do any one of the following actions:
Click View resources.
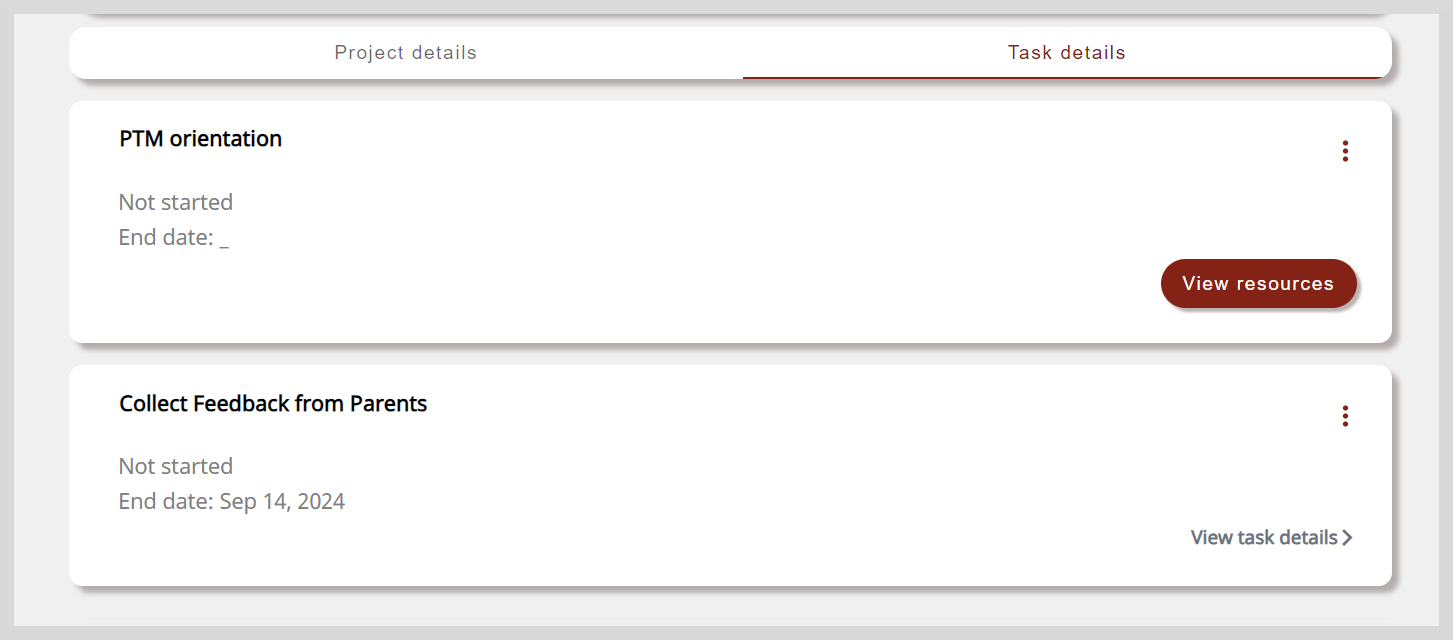
Click the task tile and click View resources.
Adding New Tasks
You can define your own necessary tasks to achieve your project's goals.
On the Project details page, go to the Task details tab.
Click Add your own task button. The Add New Task page appears.
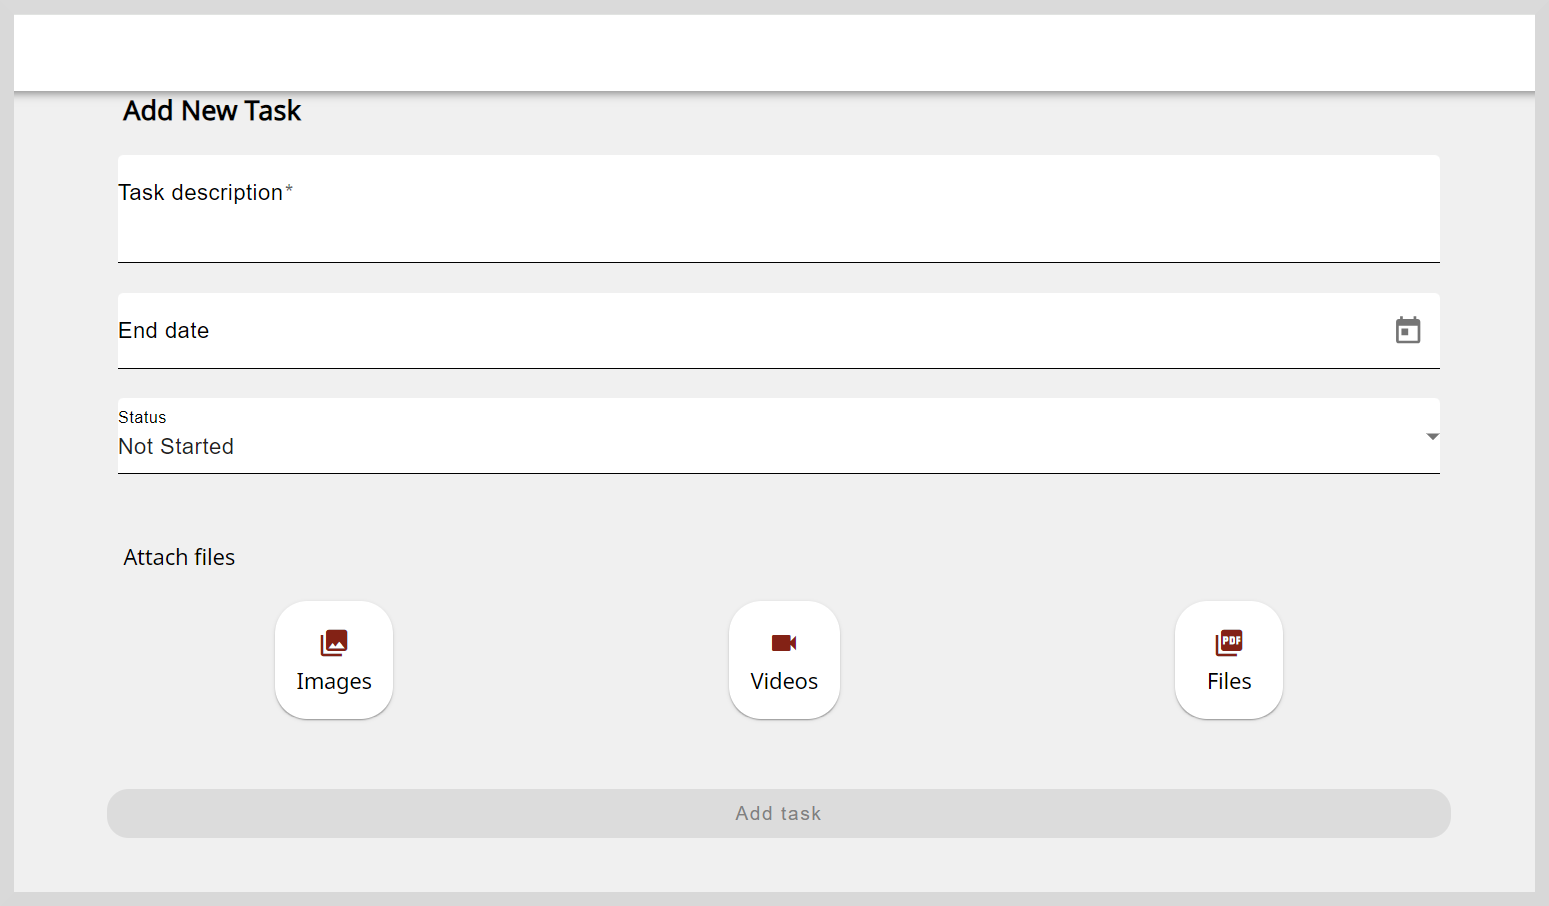
Enter the task's details such as name in the Task description box.
Optionally, you can specify additional task details such as the date of completion and the task's status as per the following table:
Action Steps Set the date of completion - Click End date box.
- Select a date from the date picker.
Add the task's status To specify the project's progress, click the Status dropdown and select any one of the following statuses for the task:
- Not Started
- In Progress
- Completed
Optionally, to upload files that support the task's completion status, do as follows:
Select the Image, Videos, or Files tab.
Read the Content Policy and select the checkbox to confirm that the uploaded evidence complies with the content policy.
Select the file.
Click Add task. The task is created and listed in the Task details tab.
To save the changes, go to the project details page and click Sync.
Updating Tasks
Only non-mandatory tasks can be edited or deleted.
To view the Task details page, do one of the following actions:
- Go to More Options
 on the top-right corner of the task tile and select Edit.
 - Click the task tile.
- Go to More Options
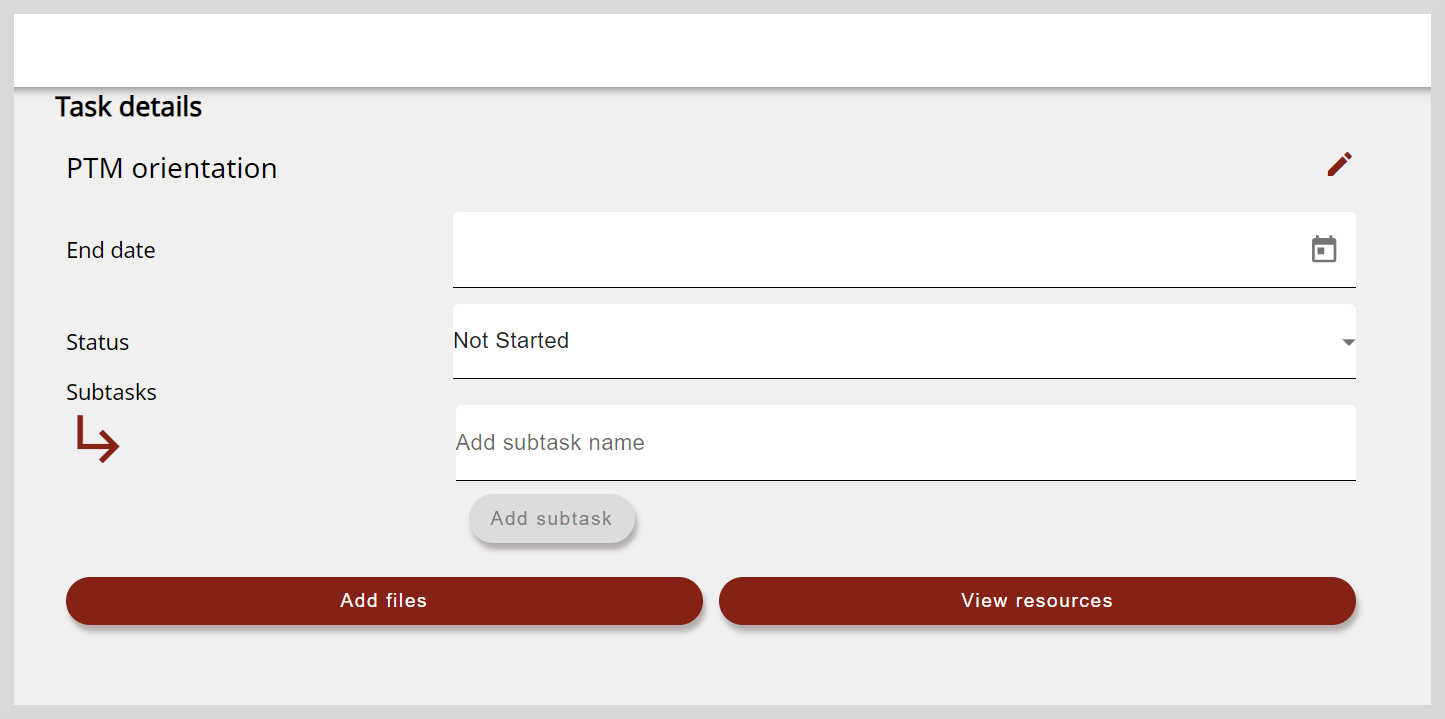
Update the task as follows:
Action Steps Change the task's description If projects include tasks that are optional, you can change the task's description as follows:
- Click the Edit icon located next to project's description.
- Change the task's description and click Save.
Set or update the date of completion - Click End date box.
- Select a date from the date picker.
Update the task's status To specify the project's progress, click the Status dropdown and select any one of the following statuses:
- Not Started
- In Progress
- Completed
To save the changes, go to the project details page and click Sync.
Managing Subtasks
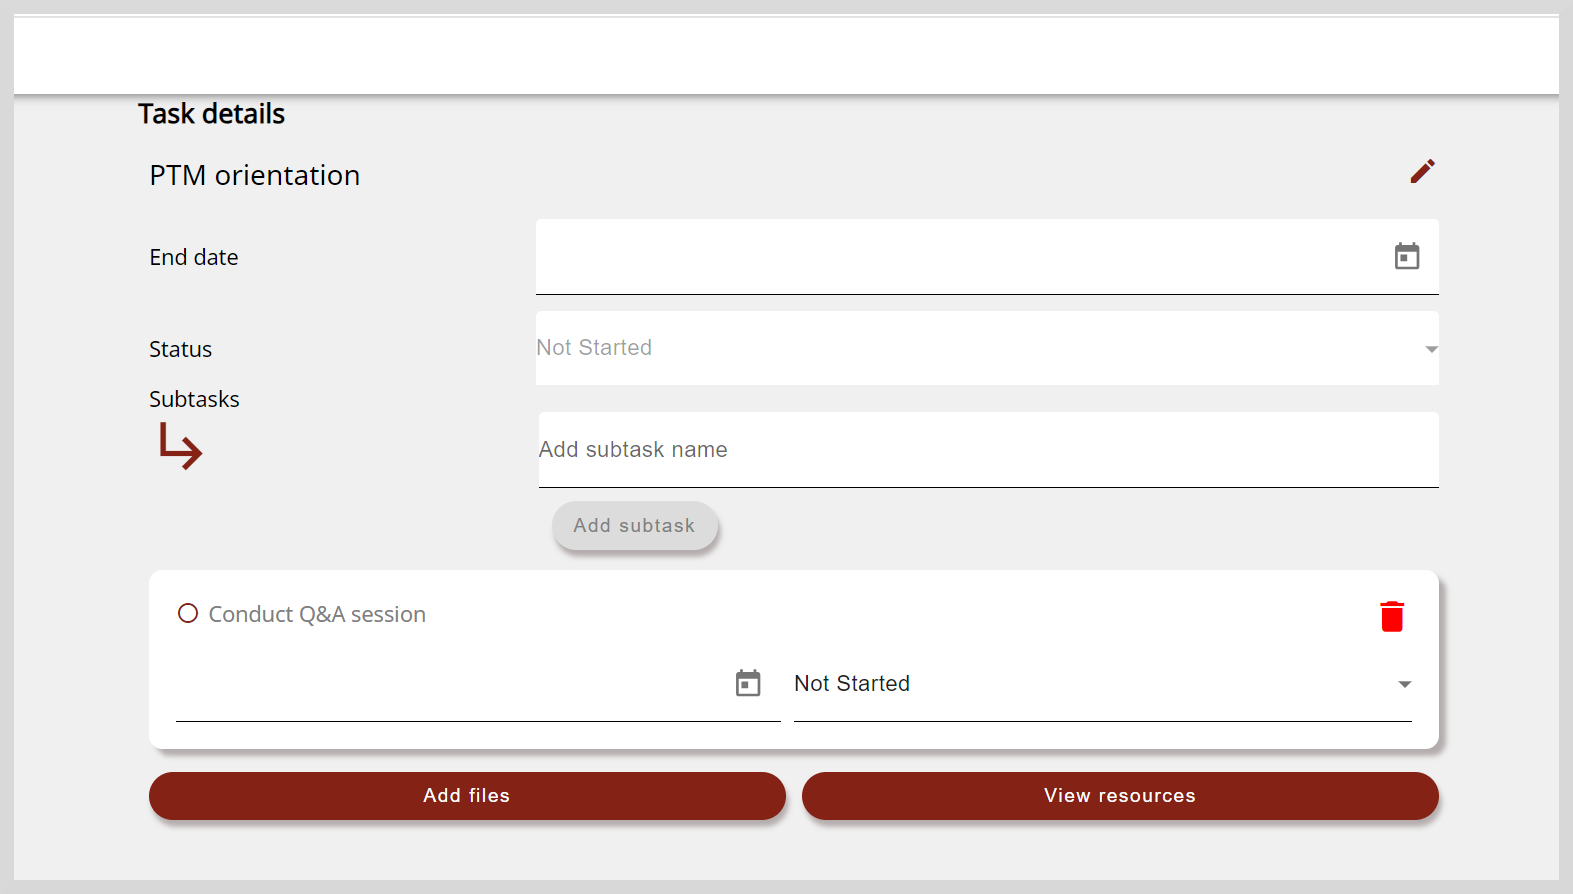
Complex tasks can be further divided into subtasks. After creating subtasks, you can specify the project's progress by updating the status of the subtasks.
To add or update subtasks, do the following actions:
Action Steps Create subtasks - Enter the subtask's name in the Subtask box.
- Click Add subtask. The subtask is listed on the Task details page.
Update the subtask's name - Click the subtask's name.
- Enter the new name and click Save.
Set or update the subtask's date of completion - Click the Date box.
- Select a date from the date picker.
Update the subtask's status - Click the Status dropdown.
- Select any one of the following statuses for the task:
- Not Started
- In Progress
- Completed
To save the changes, go to the project details page and click Sync.
Adding Task-Level Evidence
To add evidence that support your tasks's completion status, do as follows:
Click Add files.
Read the Content Policy and select the checkbox to confirm that the uploaded evidence complies with the content policy.
Click Upload.
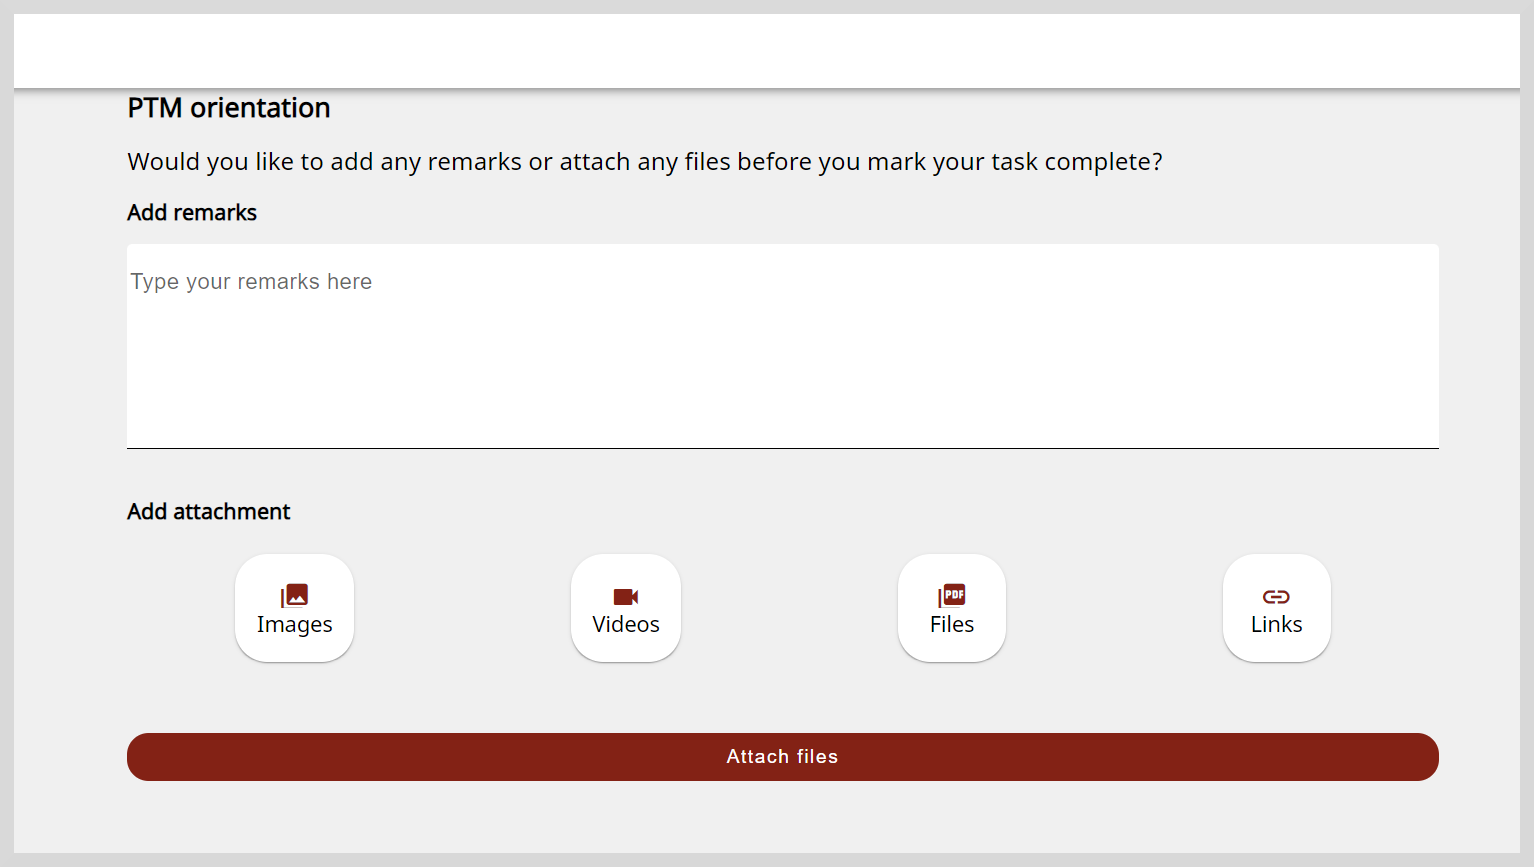
Optionally, you can add remarks about your task's status in the Add remarks box.
To upload files, click the Images, Files, or Videos tile and select the file. The file is uploaded.
To attach links, do as follows:
- Click Links.
- Paste the link and click Save.
Click Attach files. To view the attached evidence, click Files on the Project details page.
To save the changes, go to the project details page and click Sync.
Deleting Tasks
Only non-mandatory tasks can be edited or deleted.
If projects include tasks that are optional, you can delete them if they are no longer required.
To delete tasks, do as follows:
Go to More Options
on the top-right corner of the task tile and select Delete.Click Yes on the confirmation dialog. The task is removed from the Task details tab.
To save the changes, go to the project details page and click Sync.
Deleting Subtasks
If your project include subtasks, you can delete them if they are no longer required.
To delete subtasks, do as follows:
Click the task tile. The task details page.
Click the Delete icon on the subtask tile. The subtask is removed from the task details page.
To save the changes, go to the project details page and click Sync.